project wall
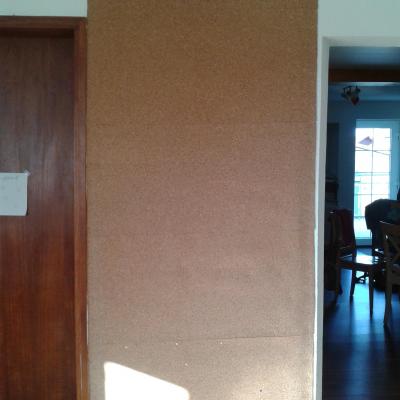
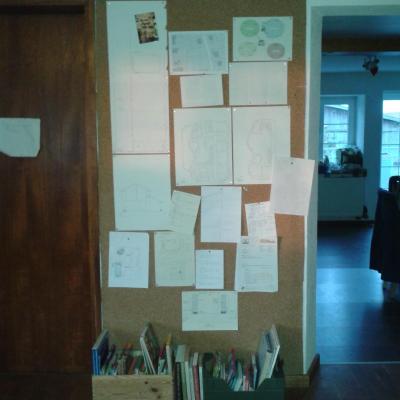
Fairly quick one today: At the end of August, we spent a day or two setting up a project wall for the house. It’s not going to hold up forever since we basically made it as cheaply as we could and fumbled our way through the process ;-) but it doesn’t have to. We just need one now.
Aiming for speed & doability
Honestly, in my day-to-day life with three kids and a job I sometimes lose track of the house-building process. And if I don’t keep it going, it always takes a while before somebody else gives it a push, so we’ve had quite a few times where nothing happened for quite some times until I managed to break free from the daily struggle and get everything moving again. Sometime during the summer, I realised that this just wouldn’t do! I needed a way to keep my plans for the house and the current state of the process in sight at all times, and right now.
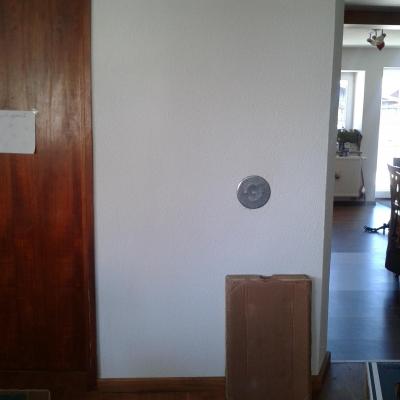
So I thought of setting up some kind of project pin board, and the only stretch of wall available was conveniently placed in our living room, right between the door to the kids’ room and the passage to the kitchen. It’s about a metre wide and roughly 2.40 metres high, and I quickly decided to just cover the whole stretch with cork, which would both look nice and give us plenty of planning space.
However, the wall is plastered with some fairly crumbly stuff, and I didn’t want to go all out and drill holes for screws and wall plugs and that – besides I would’ve had to go and buy some. I figured that the pack of nails I had lying around should do, as long as we used enough of them. My SO was sceptical (and rightfully so, I should add), but we did make it work in the end.
How we did it
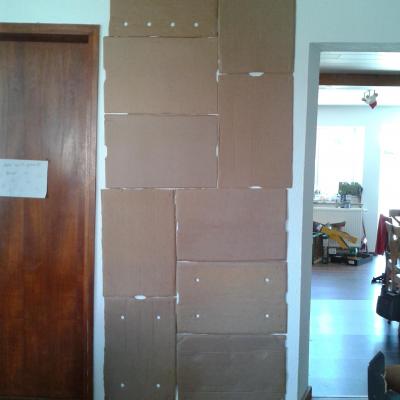
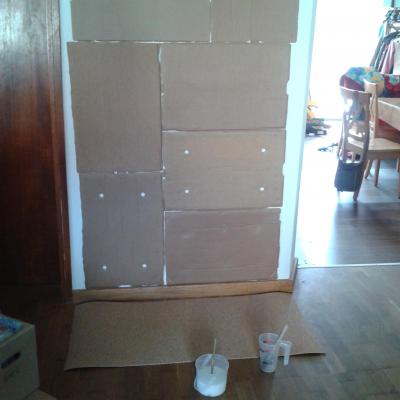
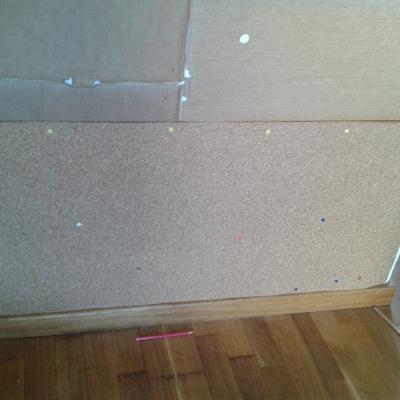
So I grabbed quite a few large cardboard boxes from the frequented grocery store (for free :-D), and we stripped them down to just their bottom bits. We then nailed those to the wall, leaving a bit of space (two or three centimetres) to either side and on top of the area we wanted to cover with cork. I’d bought two rolls of cork wall insulation (4 mm thick) at 21 € from a building supplies store, but we only needed one. (Going to make a smaller patch over my desk with the rest sometime.) We cut strips from the roll with the width of the wall – that was a bit tricky, because this is an old remodeled farmhouse and I have yet to find a true right angle ANYWHERE in this place. So basically everything is just slightly askew, and we had to slant the cuts a bit, which was a pain. And then we slathered them with a mix of wallpaper paste and wood glue, both of which I also had lying around (what a make-do project!), stuck them to the cardboard with the sides protruding a bit, and then nailed them down on both sides and through the cardboard in odd places as well, for good measure.
Some things we learnt
Of course, as I said we basically made this up as we went along, so there was naturally room for improvement. If you try something similar, my advice would be:
- Try to get cardboard bits of the same thickness (we had a mix of double and single bits).
- Also try to get fairly straight ones (some of ours were a little bent), and plenty of them in case you miscalculate at some point.
- Use good glue. Wood glue is fine, and it mixes well with wallpaper paste, but we started out with mostly wallpaper paste (because we didn’t have that much wood glue) and ended up using all the glue we had left, and redoing the first strip of cork.
But it’s holding up alright! :-D Actually, our son already shot at it with the bow and arrow he got recently for his fifth birthday, and made a hole in it in one place, and also quite a few in various in the plans. (I was furious, but at least we know now that it’s more robust than we thought.) And I’ve been using it ever since, it’s really great. Also makes for an excellent talking point with visitors – I’m actually working on a detailed room book these days to complete the virtual tour of the house. Expect some posts on that soon.
- Log in to post comments
