Outdoor kitchen part 1, planning and progress
Heh, you know, there really is magic in “just starting somewhere”. Ever since I’ve decided to get going and build the outdoor kitchen with the mobile cob oven trick this summer and autumn (read: right about NOW), things have begun to fall into place very neatly and in the most amazing ways. To the point where I’ve actually rented a mini digger for TOMORROW! Anyway, I’m keeping this post sticky and will update it as things progress.
Plans & parts
Things I want to test on the kitchen:
- putting tadelakt on cob
- setting up a building site
- mixing cob with a mini digger
- digging with a mini digger – myself
- putting in bottle windows
- carving out nooks & crannies/cob shelving
- a turf roof
Parts of building the kitchen:
- a structure with a roof
- the cob oven (and possibly rocket stoves or other things)
- finishings (lime rendering, some tadelakt, moss graffiti, floor)
Phase 0: preparations
That’s going so smoothly that I feel like we’re almost done (not really true though) – of course it actually won’t be finished until the whole project is. But like:
Materials:
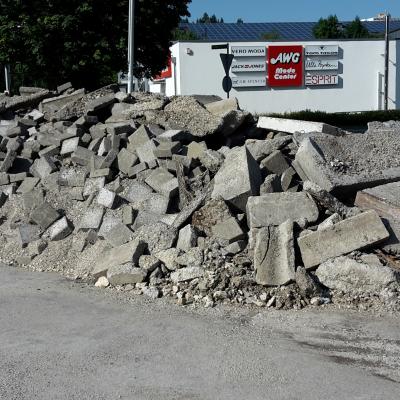
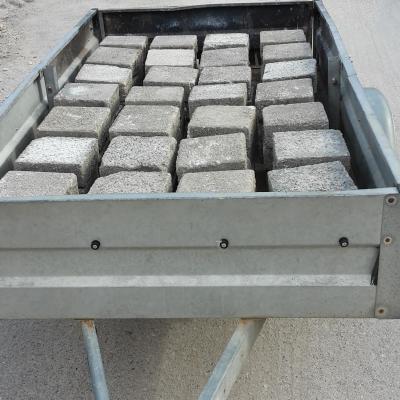
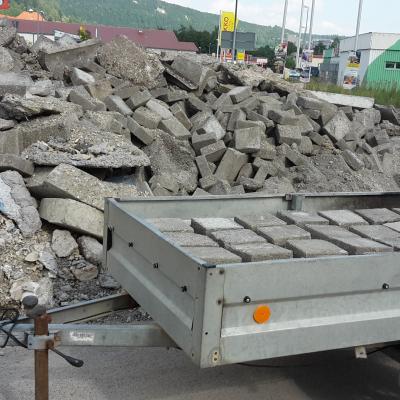
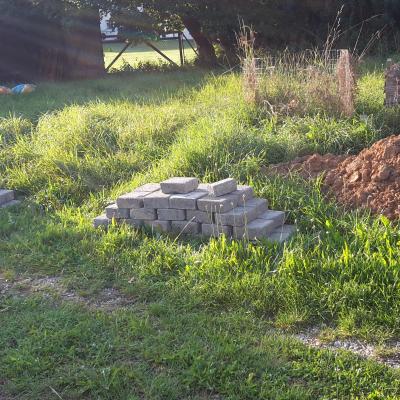
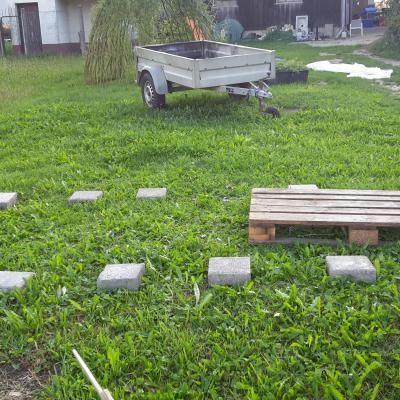
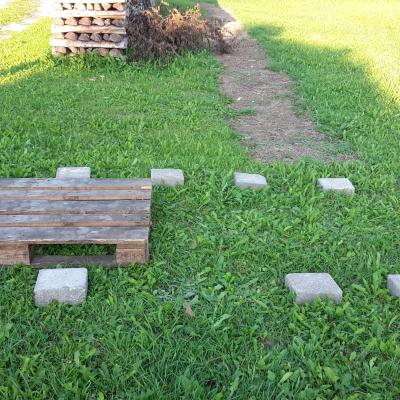
- Stones for the stem wall: I came across a huge pile of square stones, super easy to stack and to work with. Called around and got them for free – when I went to pick them up on Saturday (like, yesterday), the man I’d spoken to on the phone even came over to say hello, which was very nice. Said I could have as many as I liked – I got about a hundred now and maybe I need twenty more, but maybe not.
- Clayey soil: plentiful on our plot. My sister’s already dug some up recently, and there will be more than enough from the foundations, anyway.
- Sand: Getting that from a local building company over in the next village, tomorrow, along with some pebbly stuff to fill the hole in the ground with.
- Straw: I actually live right across from a barn, and only realised just how much straw’s in there today! %-)
- Wooden beams and things for the roof: Honestly I haven’t figured out the roof yet. Will see if I can use some of the pallets I’ve collected.
Plans:
They’re basically all scribbles in pencil on scrap paper, but pretty clear in my mind. Will scan something soon.
Phase 1: mini digger day week!
My plans for the mini digger were
- make 2 m³ of cob, ready mixed, straw and all
- dig a big hole in the ground where the structure is supposed to go
- as a bonus, level the ground from the hole up to my sister’s willow tent
Phase 1 has been completed! Read all about it here.
Phase 2: foundations and stem wall
Planning to do that on Tuesday, maybe I can even do a first lift of cob. Fill in the hole, tamp it all down nicely, make sure it’s level, then lay the stones for the stem wall. (Going to do that dry, since they’re super square and heavy and solid.) Haha. Well I’ve come to be a bit more realistic here, I’m starting to fill the hole today (Wednesday Sept 4) and will probably finish on Friday, which is forecast to be fairly dry. I can probably lay out the stones then as well, to see how they fit and if I still need some more. But the stem wall will have to wait until next week, and also I now think I’ll use lime mortar.
Phase 3: cob wall
Now that the cob is mixed, I feel like it should be used as soon as possible – I’m a little concerned that it might dry out. But this also can’t be done before next week, once I’ve finished the stem wall.
Phase 4: the roof
Okay, and this is where I’m out. I don’t know how exactly I’ll do that bit, yet, but I’m sure I’ll come up with something! ;-)
- Log in to post comments
