Mud brick mass heating stove course
Originally I intended to go to a rocket stove course in Denmark last year. I loved the rocket stove concept (I’ll explain elsewhere what exactly that is) from the start, but since they do burn fabulously hot I felt it very wise to take part in at least one workshop before attempting to build one. I could only find a single workshop in Europe for last year and was on the verge of booking the train to Kopenhagen – when it was cancelled without substitution. Hum.
Funnily enough, around the same time a friend of mine came across an advertisement for a mass heating “mud” stove course in a village just around the corner from where I live, at the beginning of July. So naturally I rang the phone number given straight away and ended up talking to stove maker Marius Dislich (and he’s also the creator of the funky Speichertonne [heat storing barrel] – just go look at the pictures!) who said he’d heard of rocket stoves but had never built one himself, and who fancied giving it a go just as much as myself. Yay!
So of course I signed up for the course straight away and proceeded to find babysitters – fairly doable for four days. I spent weeks bouncing up and down in anticipation, and it was still even better than I’d expected! :-)
Day One
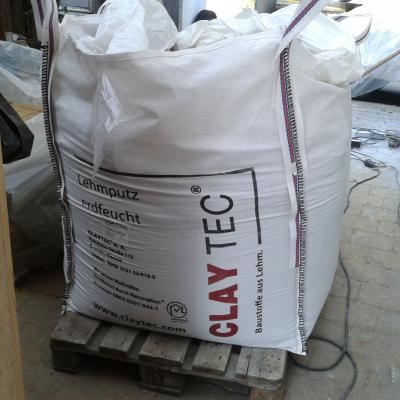
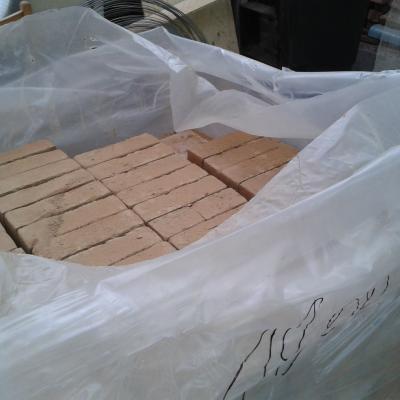
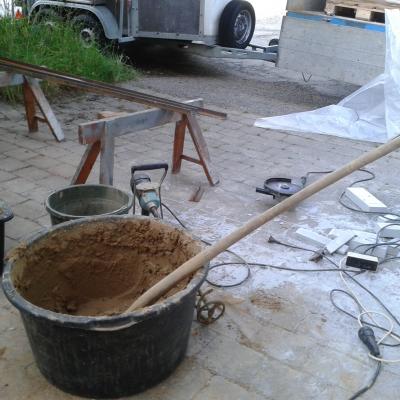
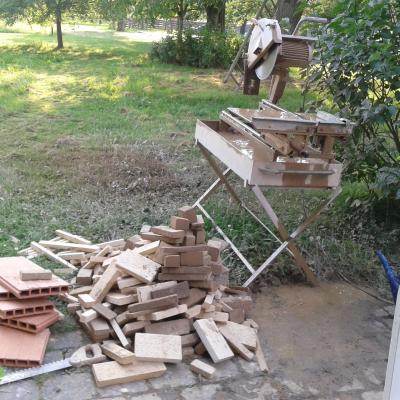
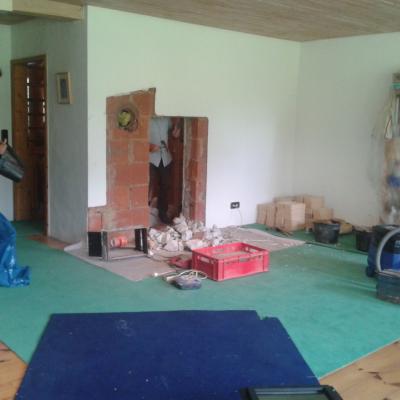
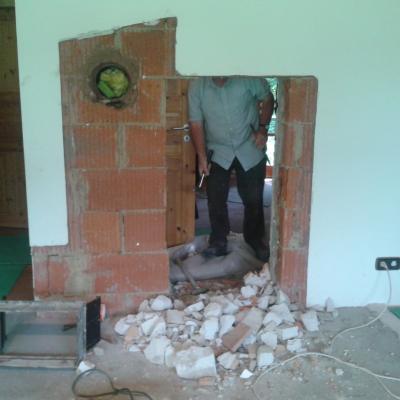
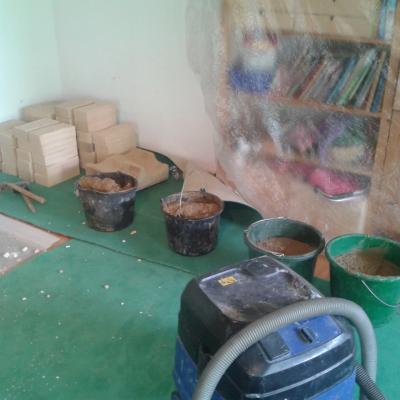
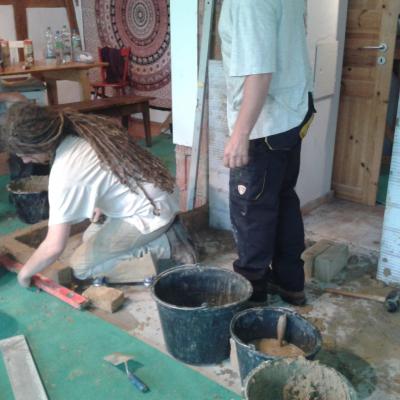
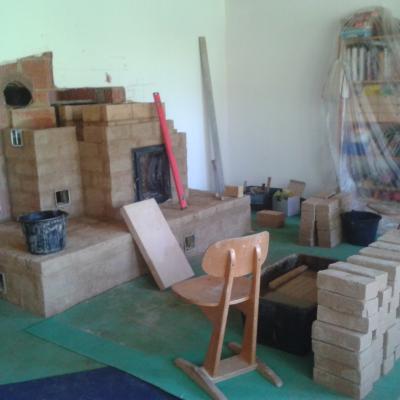
Hmm… we didn’t really get that much done on the first day, at least on the material plane. We all turned up and introduced ourselves, there were four of us plus Marius plus the couple in whose living room we built the stove. Then we cleared the working spaces, unloaded the lorry (heavy lifting!), established our building site with designated spaces for mixing, sawing, watering and such, as well as determining which bucket was supposed to contain what kind of mixture, and then we knocked off the remainders of the old tile stove that had been there before.
Marius had done at lot of thinking and designing in advance and brought a sketch of what the stove might look like and how big it should be, but we still spent quite a while wondering exactly how high the bench should be, how long the flues could be made and whether we should make the flues go this way around or the other. At the end of the day we’d talked about millions of interesting things, produced a final building plan, learned what mix to make for what use and when to use firebrick and mud bricks, how to operate the water-cooled circular saw (we were pretty lucky with the weather – sawing invariably meant getting rather wet), and then how to make a good building team with five to six people. Oh, and we did lay our very first row of bricks as well.
Day Two
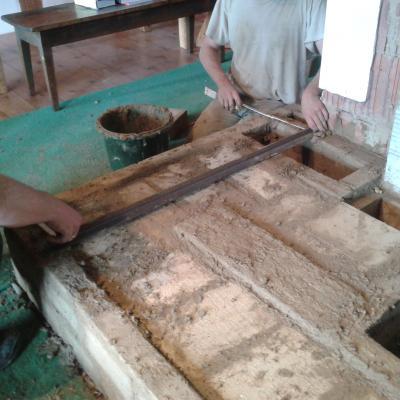
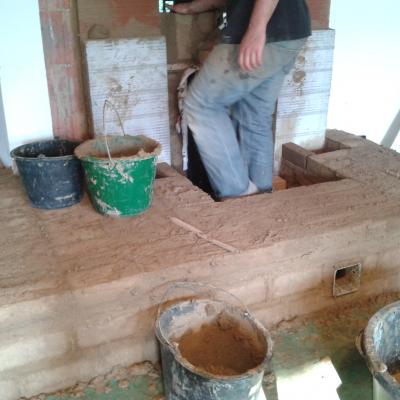
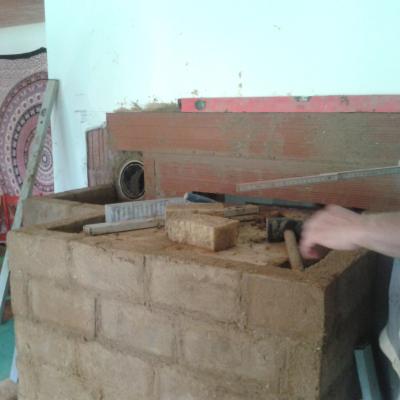
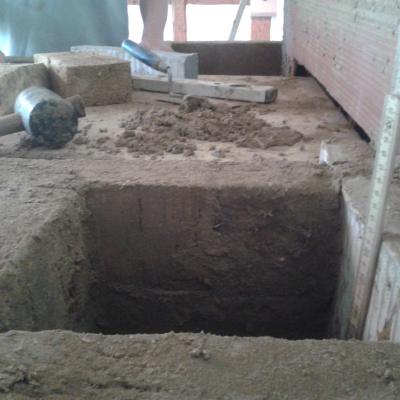
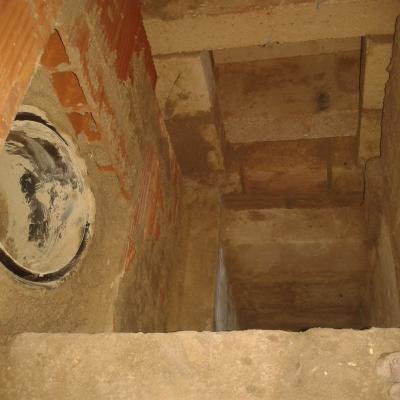
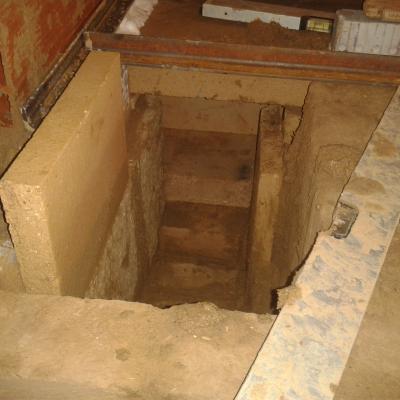
I’ll refrain from writing very much about the second day and let the pictures tell the story instead – I took so many pictures that it takes me ages to pick “just” twelve!
Summary:
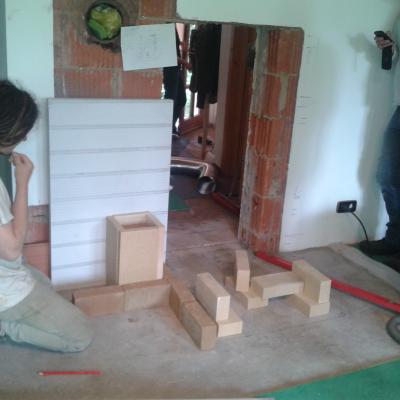
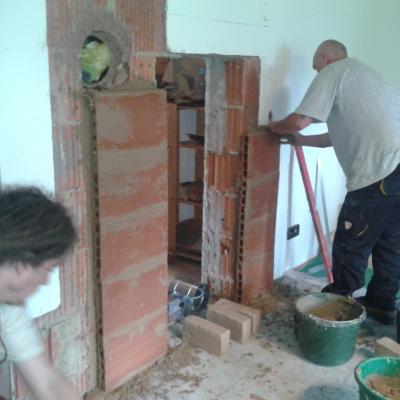
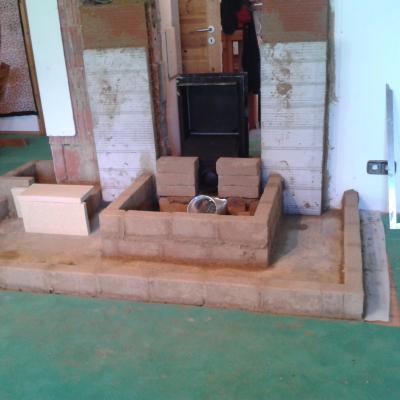
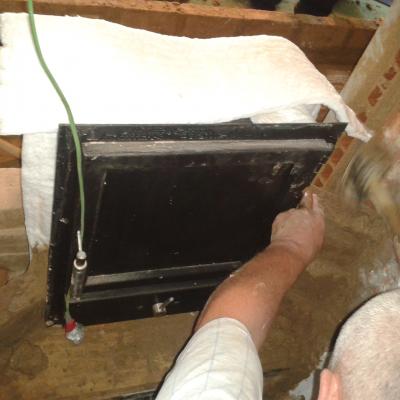
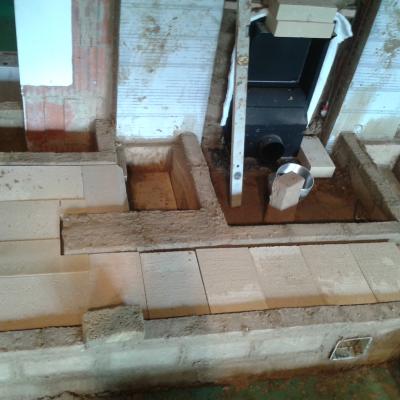
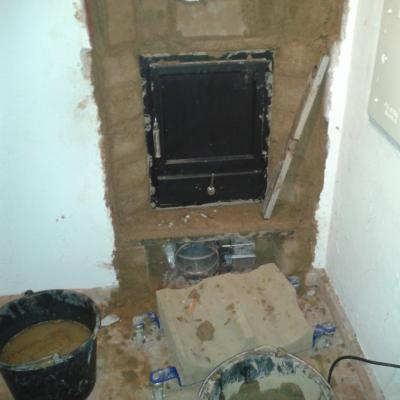
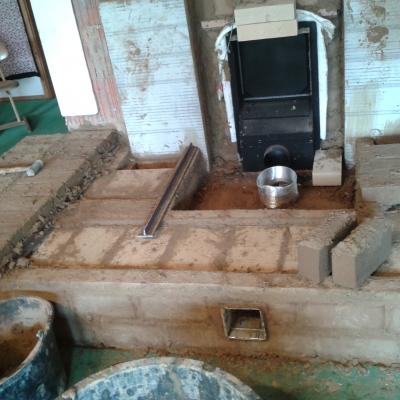
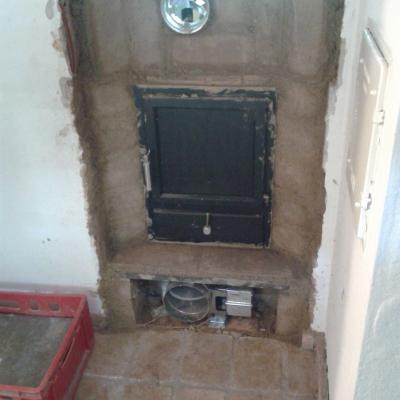
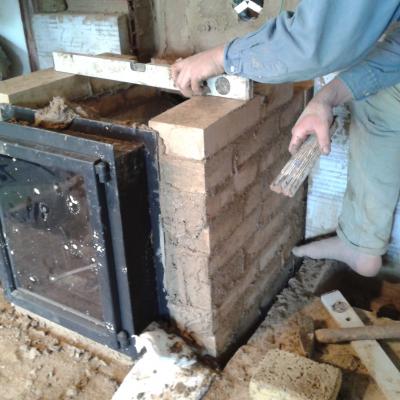
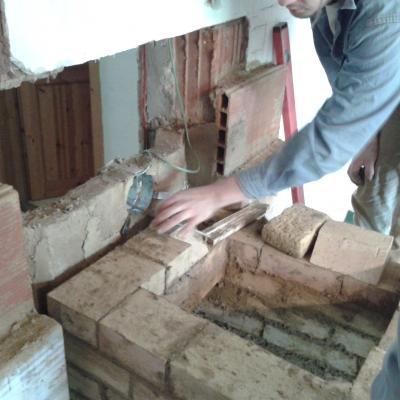
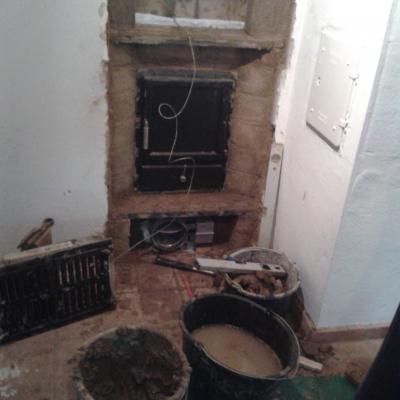
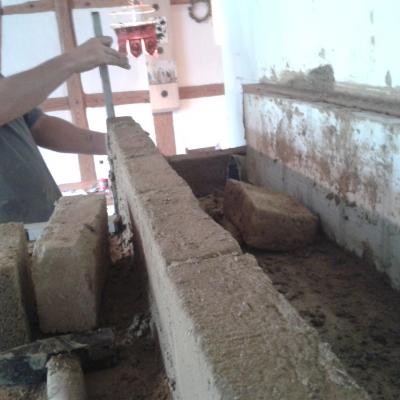
- We fitted the stove door (opens to the hallway) into the whole in the wall using hand-sawn, bevelled mud bricks – that was quite tricky!
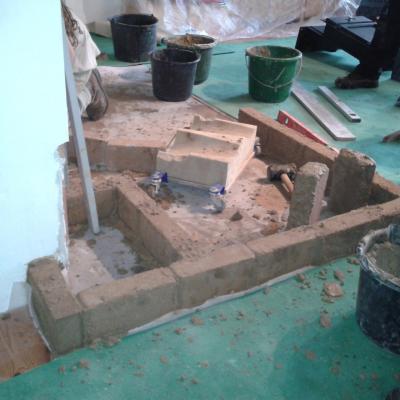
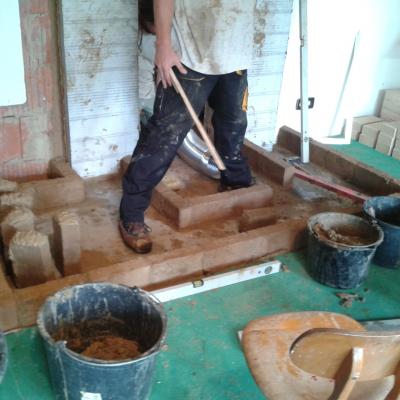
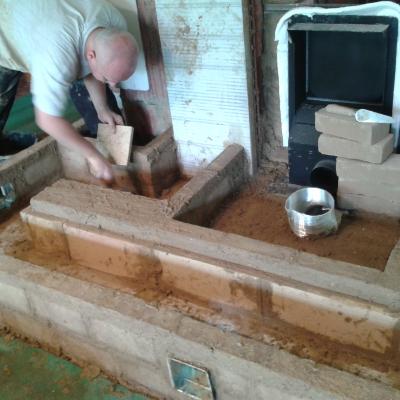
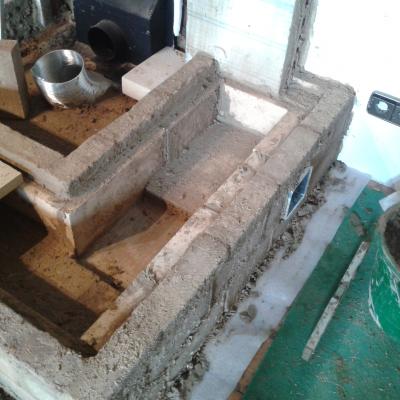
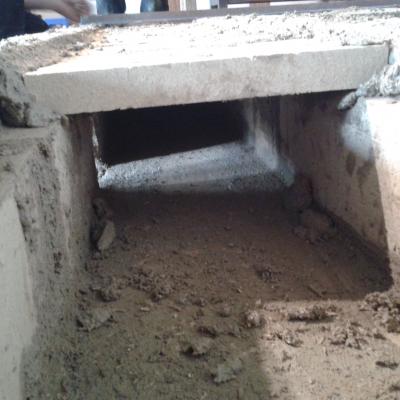
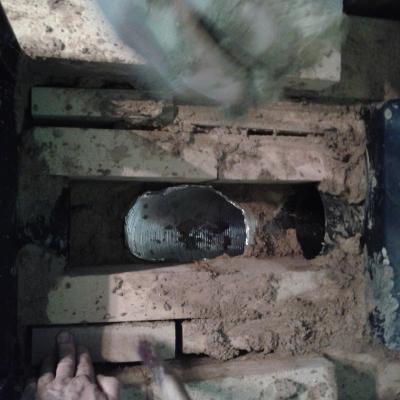
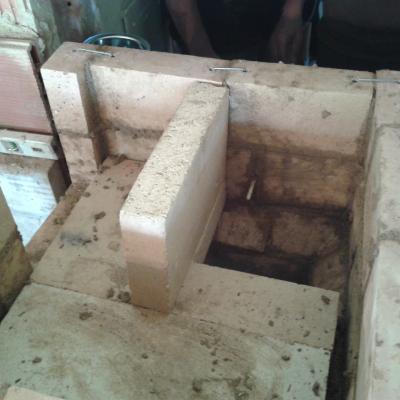
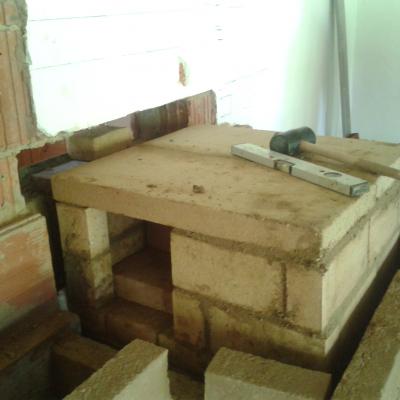
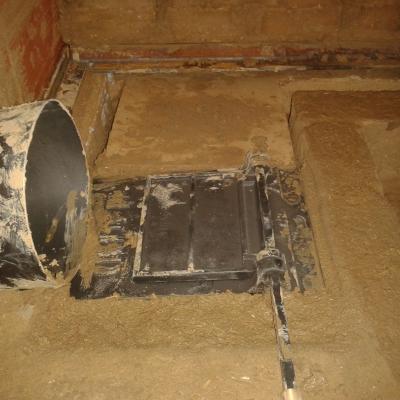
- We also built the bottom flue inside the bench,
- added the air supply into the combustion chamber,
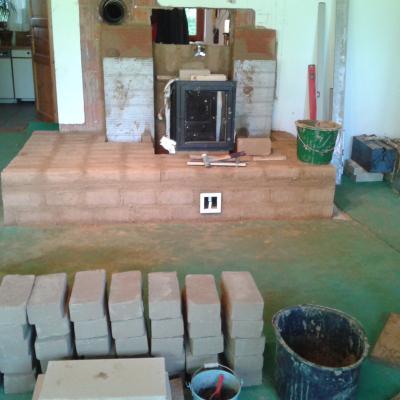
- and finally finished the bench in brick.
Day Three
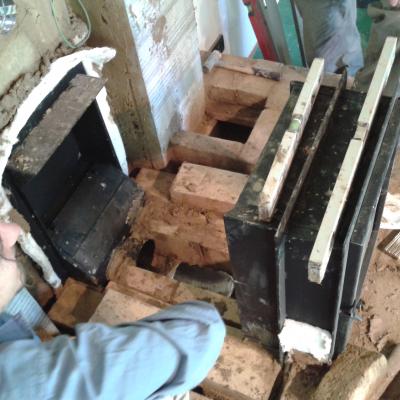
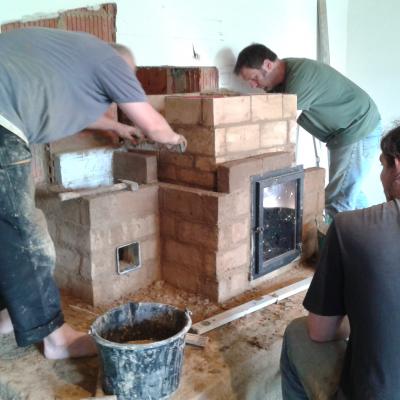
I remember well how on day three, I was sure we’d never finish this opus magnus in time. That was also the day we lost no time in getting to work in the morning and continued with a short lunch break until fairly late in the evening. The vertical flues weren’t such a big deal, but the combustion chamber was on a wholly different level of complexity. We used lots of fat firebrick for that, which sometimes required all sorts of tricky cuts. I had to redo my cuts quite a few times…
And once more some pictures that show the day’s work better than my memories can (hey, we did make a lot of progress at the end of the day!):
Day Four (last day)
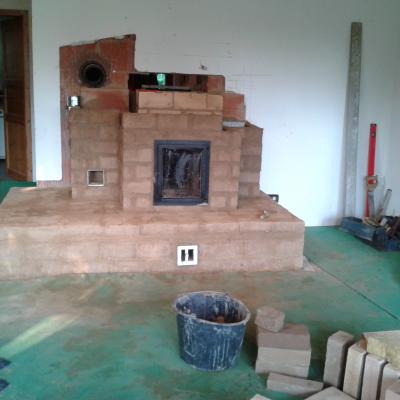
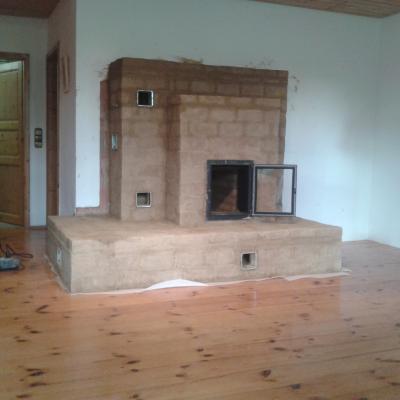
The more I keep looking at all those pictures, the more I get the feeling that I ought to explain a little more what exactly we’d been doing there. So… this stove (weighing roughly 2½ tons by the way) has at its core a combustion chamber with a door that opens to the hallway, from where the fire is stoked. That is also where the air supply and a little high tech including a thermal sensor are located – if I remember correctly this was added so the air supply could be cut off once a certain temperature was reached. (But I’m not entirely sure.) Another window on the other side of the combustion chamber shows a nice view of the fire in the living room. This can be opened as well, but only to facilitate cleaning.
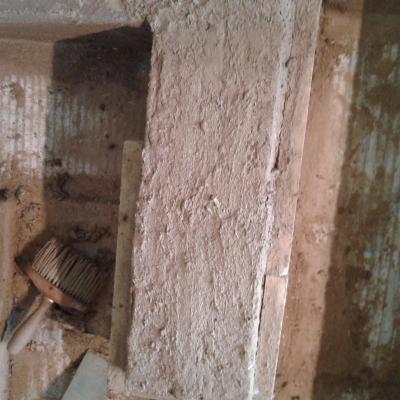
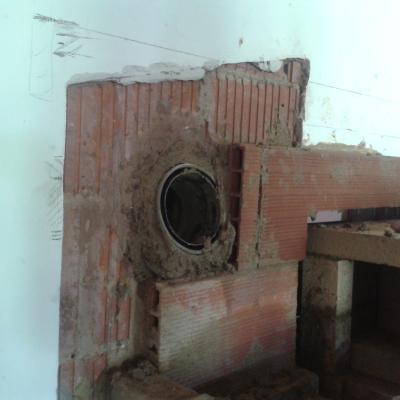
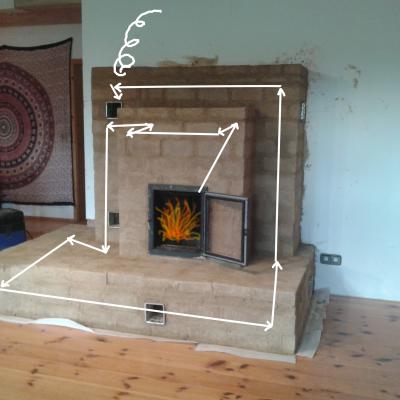
The whole combustion chamber is made from fairly massive firebrick, likewise the first few feet of the flue directly above it. After that the flue is lined with thinner firebrick sheets. The whole outer layer, that is, everything you can see from the outside, is built out of mud bricks mortared with mud plaster (a ready-made plastering mix that can be store-bought and mixed to mortar consistency). A few metal supports are built into it, mostly in the bench, and there’s a startup flap in the flue just below the connection to the chimney in the wall (on the left side). This can be opened to make starting a fire easier at the beginning of the heating season, when the stove is stone cold, giving the flue above the combustion chamber a direct connection to the chimney. At the end of those last twelve pictures I’ve added a crude but hopefully helpful sketch of the smoke path through the stove (when the startup flap is closed).
By the way, this is not really a cob stove, strictly speaking; but we did talk about building it with cob instead of mud bricks (which cost quite a lot of money to buy, and otherwise a lot of time to make), and Marius said it should be absolutely doable. In German, there is a special word for “mud that contains clay” (Lehm), cob translating to “Wellerlehm” and thus being a certain type of clay-containing mud. So in German, if I say “Lehmhaus”, this can mean a house made from mud bricks, or cob, or timber frame with light-clay infill as well.
I really must say that it’s an absolutely fabulous feeling: to know that I helped build this gigantic, beautiful stove! A while ago I came across one of the owners, who told me it was all plastered and done now, up and running and radiating very cosy warmth. Wow!! And besides, simply meeting all these wonderful and highly interesting people who came to the workshop, and the stories they had to tell, was by all means worth every minute and every cent I spent. Which is why I’ll say it time and again: Go attend more workshops! Best investment you can possibly make (imho).
- Log in to post comments
