Tadelakt course in Frankfurt
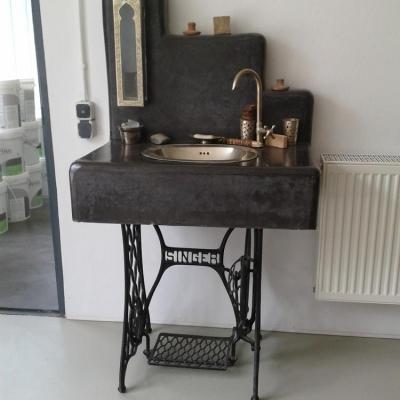
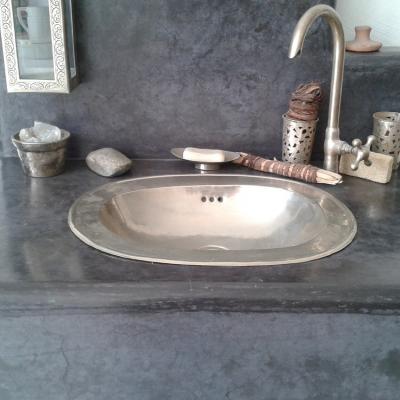
I can already hear somebody go “tad- WHAT?” – it’s a shame that such few people seem to know this incredible material (I intend to change that!). In short, tadelakt is a traditional Moroccan lime plaster that is rendered waterproof (yet breathable) with a special finishing. Do a quick image search, that saves me a lot of typing and the pictures will tell you much more anyway. Just let me say this much: it feels exactly as silky smooth and lovely as it looks.
Tadelakt is fantastic
- It is a purely natural building material (mostly lime) and very environmentally friendly (apart from transport, if you choose the Moroccan original).
- Like all lime plasters it inhibits fungus and mildew growth.
- The material itself is very affordable, and you need only a few special tools.
- Its colour hues and small irregularities are very pleasing to the eye, and polished to a shine it gives you a subtle feeling of luxury.
- It is breathable and therefore a natural companion for cob.
- You have endless design possibilities with tadelakt.
- It’s also great fun to work with!
Tadelakt & cob
And of course I am SO enthralled by it because I can just build my bathtub and shower with cob to my liking, and then simultaneously waterproof and jazz it all up with tadelakt. However, I have read and heard quite a few things on the compatibility of lime on cob, and although they have gone together well for hundreds of years, it does not seem to be as simple as that. The problem as I understand it, is that when the lime plaster turns back to limestone, you basically have a solid stone plate sitting on top of softer cob, and that doesn’t always hold up very well. On the other hand, people in Morocco have been doing this for two thousand years, so it can’t be impossible. So far my approach is to use it sparingly and deliberately instead of wall-to-wall, make sure the plaster has a good mechanical hold, and run as many tests as possible beforehand.
The course at LifeBoXX
LifeBoXX (website in German, sorry) are a floor and wall design company in Frankfurt/Main. They actually do quite a few pretty cool things, AND they have a webshop! (Unfortunately you can’t read the really interesting interview with our course instructor, Sandro, since it’s in German.) An aquaintance had been there a while ago and recommended it to me, and Frankfurt was convenient since I could stay in Mainz for the night and then go there for the day by public transport.
First day
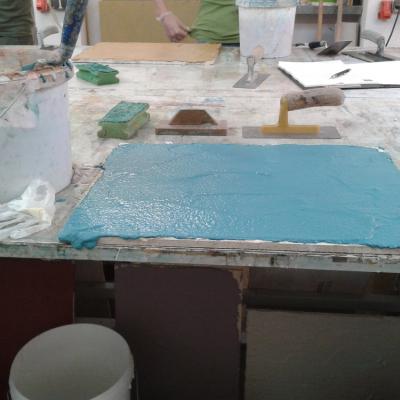
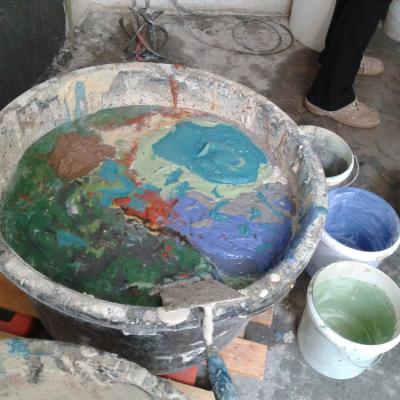
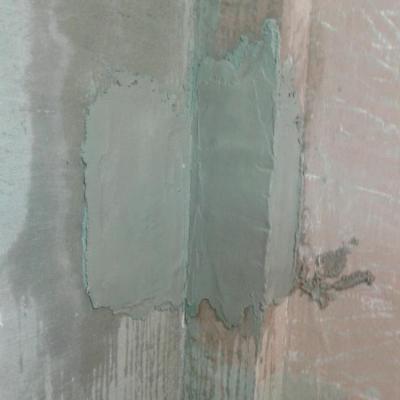
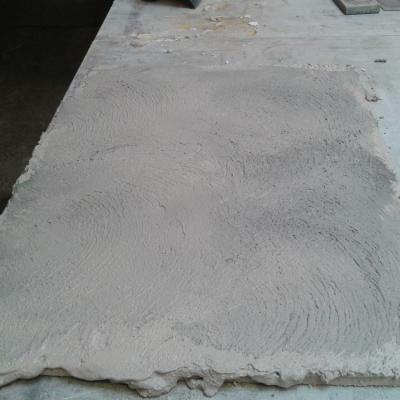
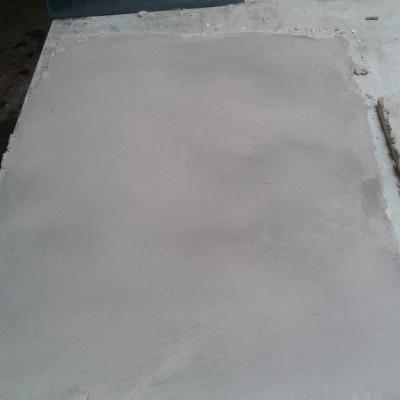
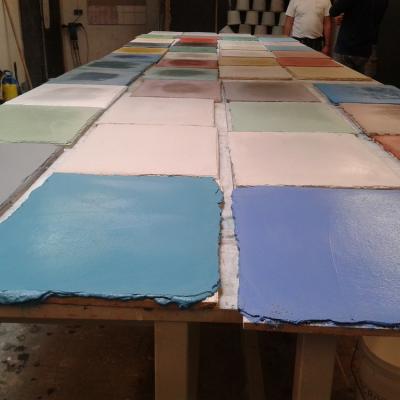
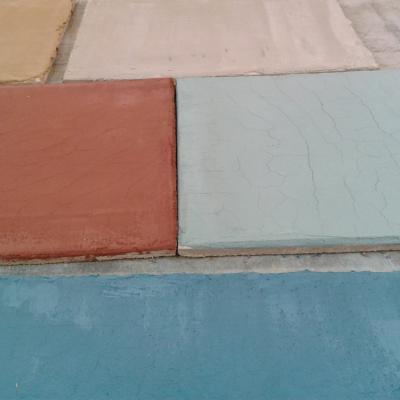
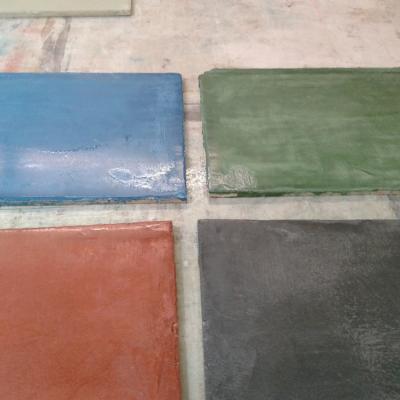
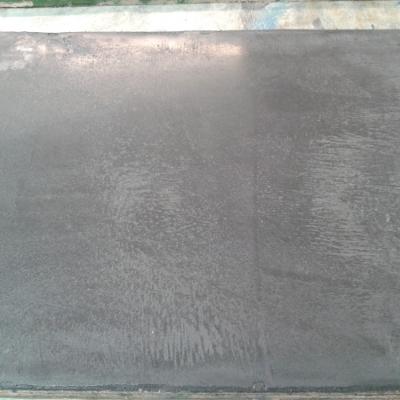
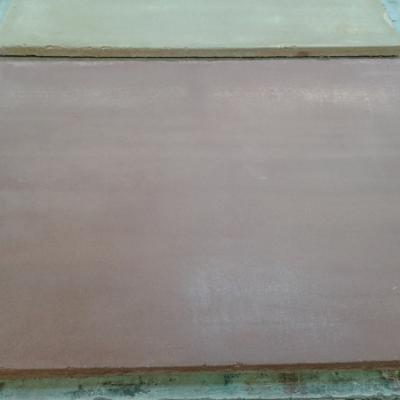
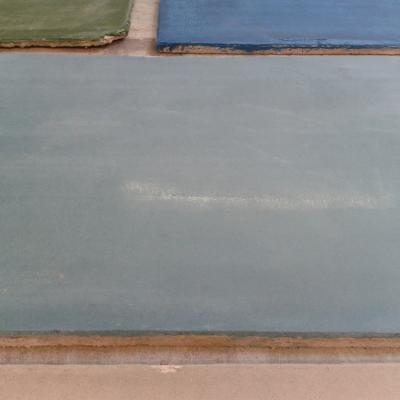
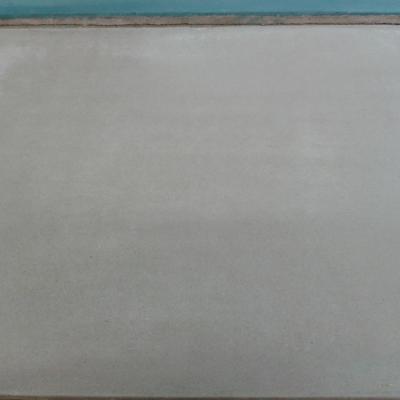
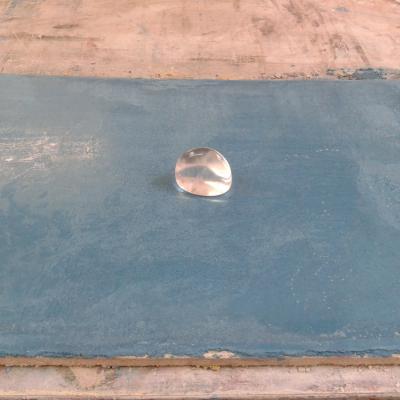
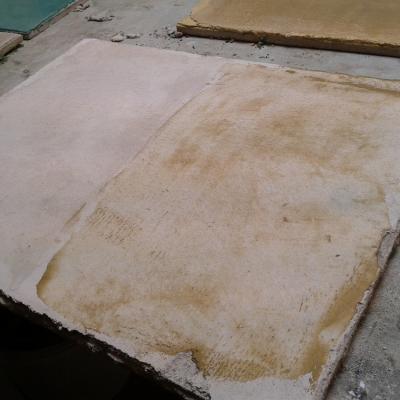
Now it has to be said that two days make for a pretty tight course schedule. Timing, mostly knowing when it’s safe to begin the next step, is absolutely key when you’re working with tadelakt. If you continue work too early, you’ll just rub everything off again! Therefore we started out pretty quickly on Friday morning, mixing small batches of tadelakt with colour pigments to our liking, and plastering specially prepared tiles with it, instructions being given as we worked. (We could do as many tiles as we liked and/or managed to produce in time.) I had one without pigments, one in a light, muted lavender colour, one in a sunny yellow, and and one with a lovely, greenish blue hue. By then I knew to put some more of that pigment in. My neighbour made five tiles in very deep, rich colours: rusty red, sunflower yellow, a mossy, forestlike green, coastal sea blue, and black. (Black, although not usually one of my favourites, is generally pretty nice in tadelakt.) Everybody tried something different, and there were some really interesting mixes.
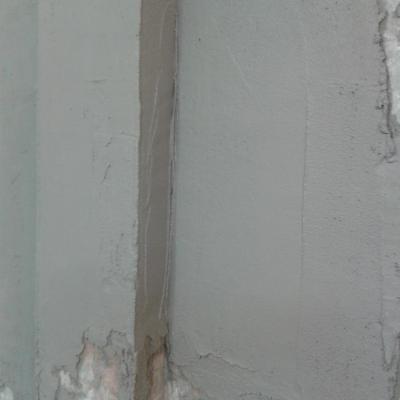
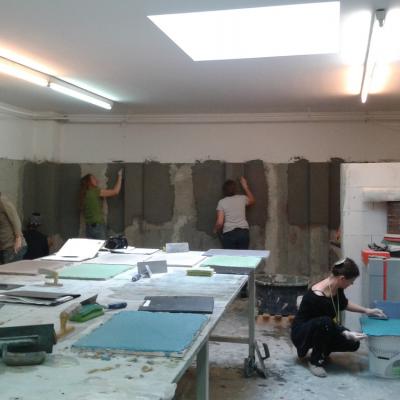
After we’d covered our tiles in two layers of material, we put ALL the leftovers together (creating a murky brownish grey yucky yuck) and had a go at a practise wall, because working on a vertical surface is quite different from doing a tile on a workbench. After some explanations and demonstration we all got a patch with an inner and an outer corner and put two layers of tadelakt on that. Then we had lunch, as well as some theory on surfaces, methods, and timing, and after that we equalised the tiles and the wall patches by lightly rubbing a little wooden board over them. It was quite remarkable how much strength was needed for this (it looks super easy), because the board gets sucked to the wet tadelakt and becomes quite hard to move around. We finished the first day by smoothing and compacting the tiles and the wall patches with a special trowel (sorry I don’t know the English name). But – timing! – not all the tiles and wall patches were ready by then, quite a few were still too wet to be worked on. One of those was my blue tile, because the blue and green pigments turn the tadelakt to slurry soup for some reason.
Second day
Next day: checked out our tiles, marvelled at them, and once more put the trowels to work. At this point we noticed something really remarkable: The tiles that had been too wet to trowel the day before had dried a little more roughly, and trowelling them smooth at this later point produced the most intriguing colour hues and irregularities – they turned out much more interesting and beautiful than the others! We had a professional in our group who’d trowelled all his tiles very smooth and neat the day before, and they were, well, a little plain and boring. (He said so himself. (-:) My neighbour’s tiles all turned out very lovely, and I was super happy with my blue one (that was the only one that had been too wet, and I do tend to make things very smooth and very neat early on when given a trowel). A moment of insight that I should keep in mind.
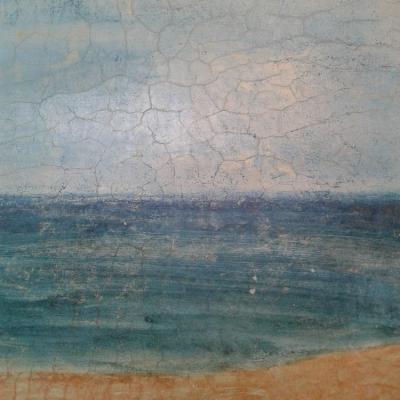
We spent the rest of the second day mostly polishing, polishing, polishing (and finding the perfect polishing stone), although this was also impossible for some tiles and wall patches due to wetness. Not enough drying time in two days. Sandro explained even more on the subject of timing, and also how to know when it’s safe to proceed with each step. After we were done polishing, he used an older tile to show us how to apply Punic wax (not sure if that’s the English term?) and how to add gold glimmer to that (that looks so luuuuush! and they’re not even expensive!!). We all had been deeply in awe of a picture he’d painted on tadelakt that hung behind his desk and really showed off that gold glimmer effect at its very best.
And then it was time to leave again already, after getting some shopping done. I bought my polishing stone since it was perfect, and when ordering online you may not get one you like. Having a really good polishing stone is very helpful, because you do go over every square centimetre with it I don’t know how many times…
Now this may not sound like a lot of actual work, but it sure was more physically exhausting that I would have thought, not least since we really were only working on a rather small surface area. In any case, it was a superb course for me: I have a lot of crucial knowledge now, not least of what I still don’t know, and what and how much I still have to practise. And it was a lot of fun. :-)
An earlier experiment of mine
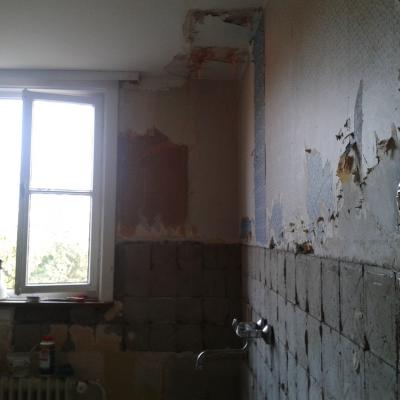
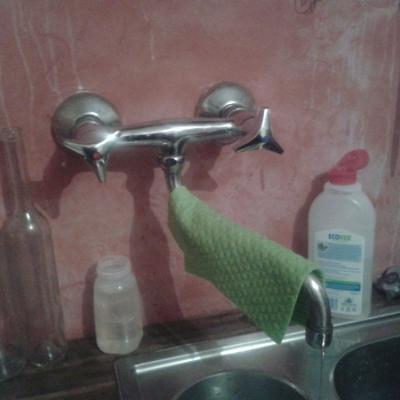
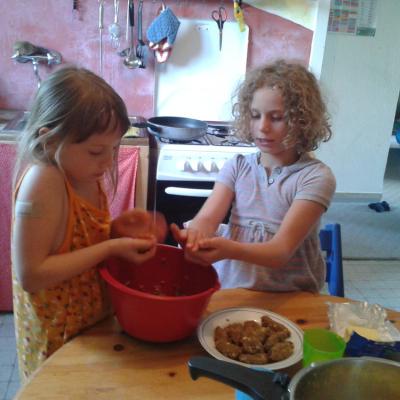
Just to mention this: I had been itching to try tadelakt for years, and in 2012 I moved into an old, rundown house that was scheduled to be demolished in a few years. The kitchen was both empty and incredibly shabby and ugly, so I thought this was the perfect opportunity to try and make a backsplash with tadelakt. I reasoned that even if I made mistakes and it turned out imperfect in some way, it wouldn’t matter anyway (spoiler: it did). So I bought a few kilos of a tadelakt knock-off from our local natural building supplies store, plus a few tools (a polishing stone and a plastic trowel) and some iron oxide pigments, and began to work on about two and a half square metres of that wall. And it seems I have totally forgotten to take pictures of that, so you only get a low quality kids-in-the-kitchen picture where you can see some of it in the background.
To make it short: After the course I am now absolutely astonished that the stuff actually stayed on that wall! I had prepared the underground totally wrong (gypsum plaster, and too smooth), and I didn’t really know what I was doing in any other respect either. My olive soap suds left very visible, whitish spray marks and drip noses, and I think it wasn’t really waterproof as well. No problem though, as I said, it wasn’t for eternity but it was a very useful experiment. THIS is why I absolutely know that a good polishing stone is a must, because the old one I had was too heavy and gave me a cramped hand after a while. Besides, it serves to remind me that NOTHING makes up for a lack of practical experience. Courses, courses, courses! Or else spend a lot of time on many, many experiments.
- Log in to post comments
