Cob oven testing
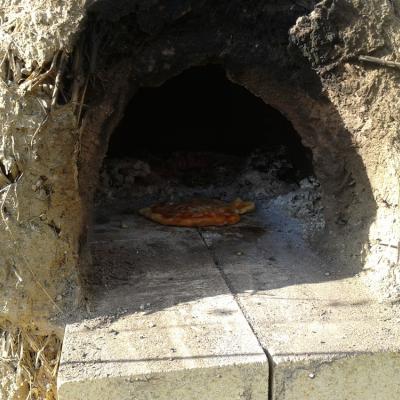
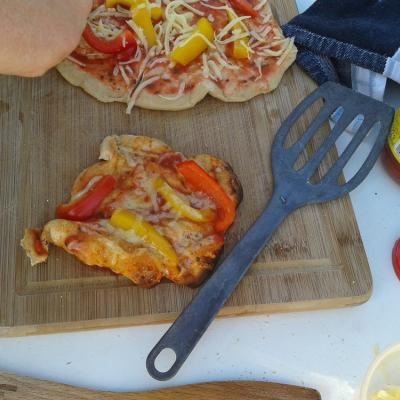
In May I told you about my second attempt at building a pizza oven last year, and with roughly the same amount of delay, here’s the follow up story about our first time actually using it at the end of June. Spoiler: It worked alright and made lovely pizza! ;-)
Preparation
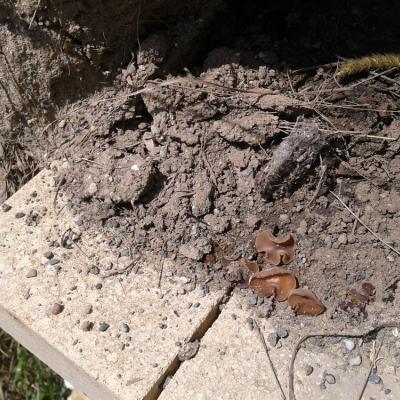
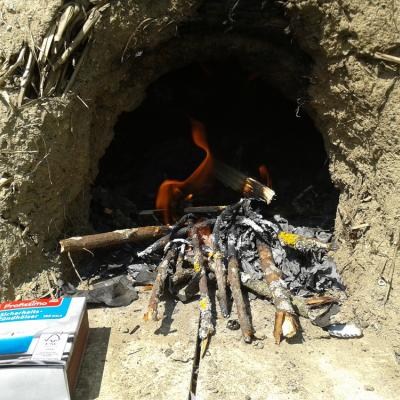
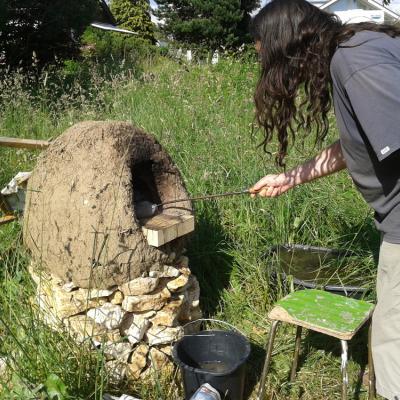
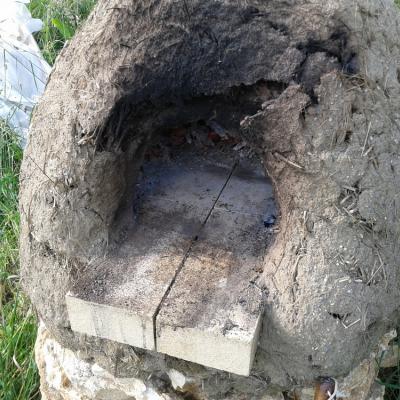
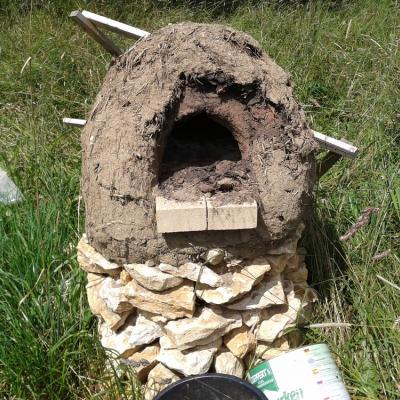
The oven needed a bit of cleaning first. After all those winter months the outermost layer had naturally crumbled off a bit (especially since I didn’t put a finishing plaster on last year), and also there’s this law of nature that you only need to provide a newly shaped space of whatever kind, and some opportunistic species will come and make itself at home there. (Fungi are such fascinating life forms.) After that, my very skilled sister showed me how to splice wood logs without having accidents, and I spent quite a good-humoured while doing just that. Without accidents. Yay! :-D And lighting the fire also went a lot better than during our first try. This time I took care to do it by the book: First light the kindling as far to the front of the oven as possible, then add some thicker bits, shove it back a bit, keep it going, feed some more, shove it back a little more, and so on until there’s a lovely bright fire going in as large an area of the oven as possible. And I managed to do that so easily that I actually had time to swing my newly bought scythe and tame the mini jungle surrounding the oven just enough to have everyone standing around it later. (Scythe stories coming soon.)
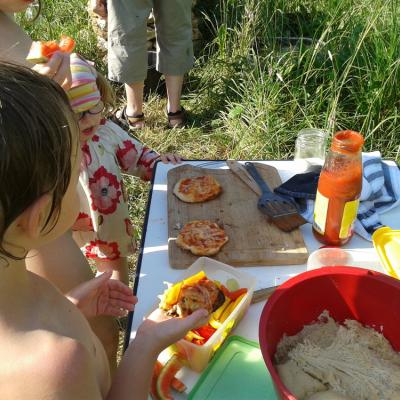
Pizza pizza!
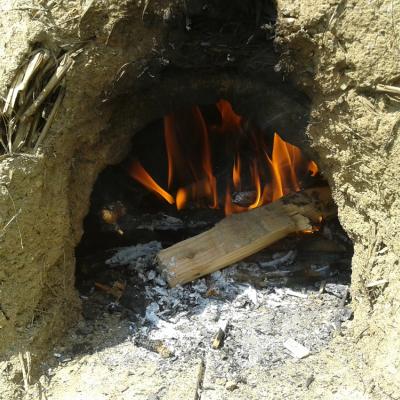
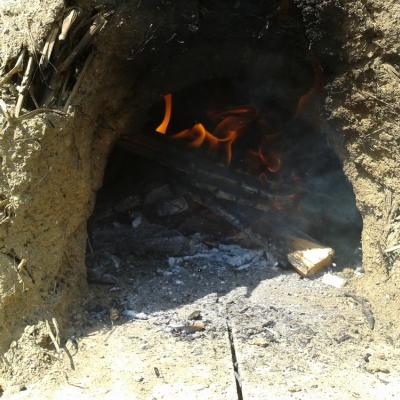
I found it a little difficult to estimate how much time was needed for the heat from the fire to fully soak into the oven. We let it burn for just a little above two hours, then continued experimenting: We improvised a tool from a borrowed poker and a piece of cloth to wipe the oven floor with. Of course, that oven floor has so many cracks and gaps that we needed to lower our standards for the definition of ‘clean’ a little. Besides, we kept the fire burning in the back, otherwise we wouldn’t have been able to bake much more than two or three pizzas. Our rough door didn’t fit very well, not least since the opening really had suffered a little during the winter. And as I said before, the oven did turn out smaller than I had in mind (again). *sigh* But our pizza was excellent!
Conclusion
By and large I was quite happy with the result of my endeavours, and as usual I got to learn so much:
- A small pizza peel would really be handy, and a metal bucket for hot coals and ash should also be readily available.
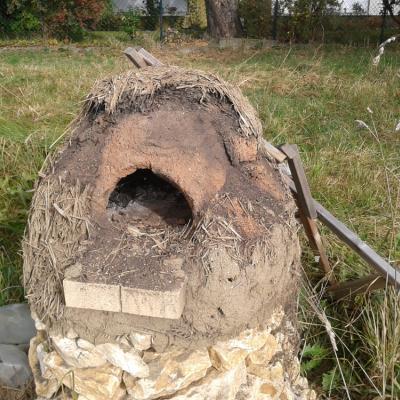
- The insulation layer still seems to be not quite efficient, and a final plaster is definitely a good idea.
- Always plan for roofing, and build it too.
- The next oven I build will be big.
I didn’t put the roof back on – the plastic tarp thingie didn’t hold very well, and I didn’t find the time to fix it up properly. I considered rebuilding the insulation layer anyway, or maybe even the whole oven (because of its size). But I didn’t get around to it in the summer, and now quite a lot of the straw layer is missing already. Amazing how red the inner layer turned, just like burnt clay!
To be continued next year… and hopefully/probably with the outdoor kitchen already. :-D
- Log in to post comments
